Transferring web hosting sounds complicated, but it’s simpler than you think. Many website owners need to switch hosts for better service or pricing.
Moving a website to a new host involves several steps. These include backing up your site, transferring files, and updating domain settings. While it may seem daunting, with the right guidance, you can do it smoothly. This guide will help you understand each step in the process.
By the end, you’ll feel confident in transferring your web hosting. Whether you’re a beginner or have some experience, this article aims to make the process easy. Let’s get started on your journey to a new web hosting provider!
Credit: www.hostinger.com
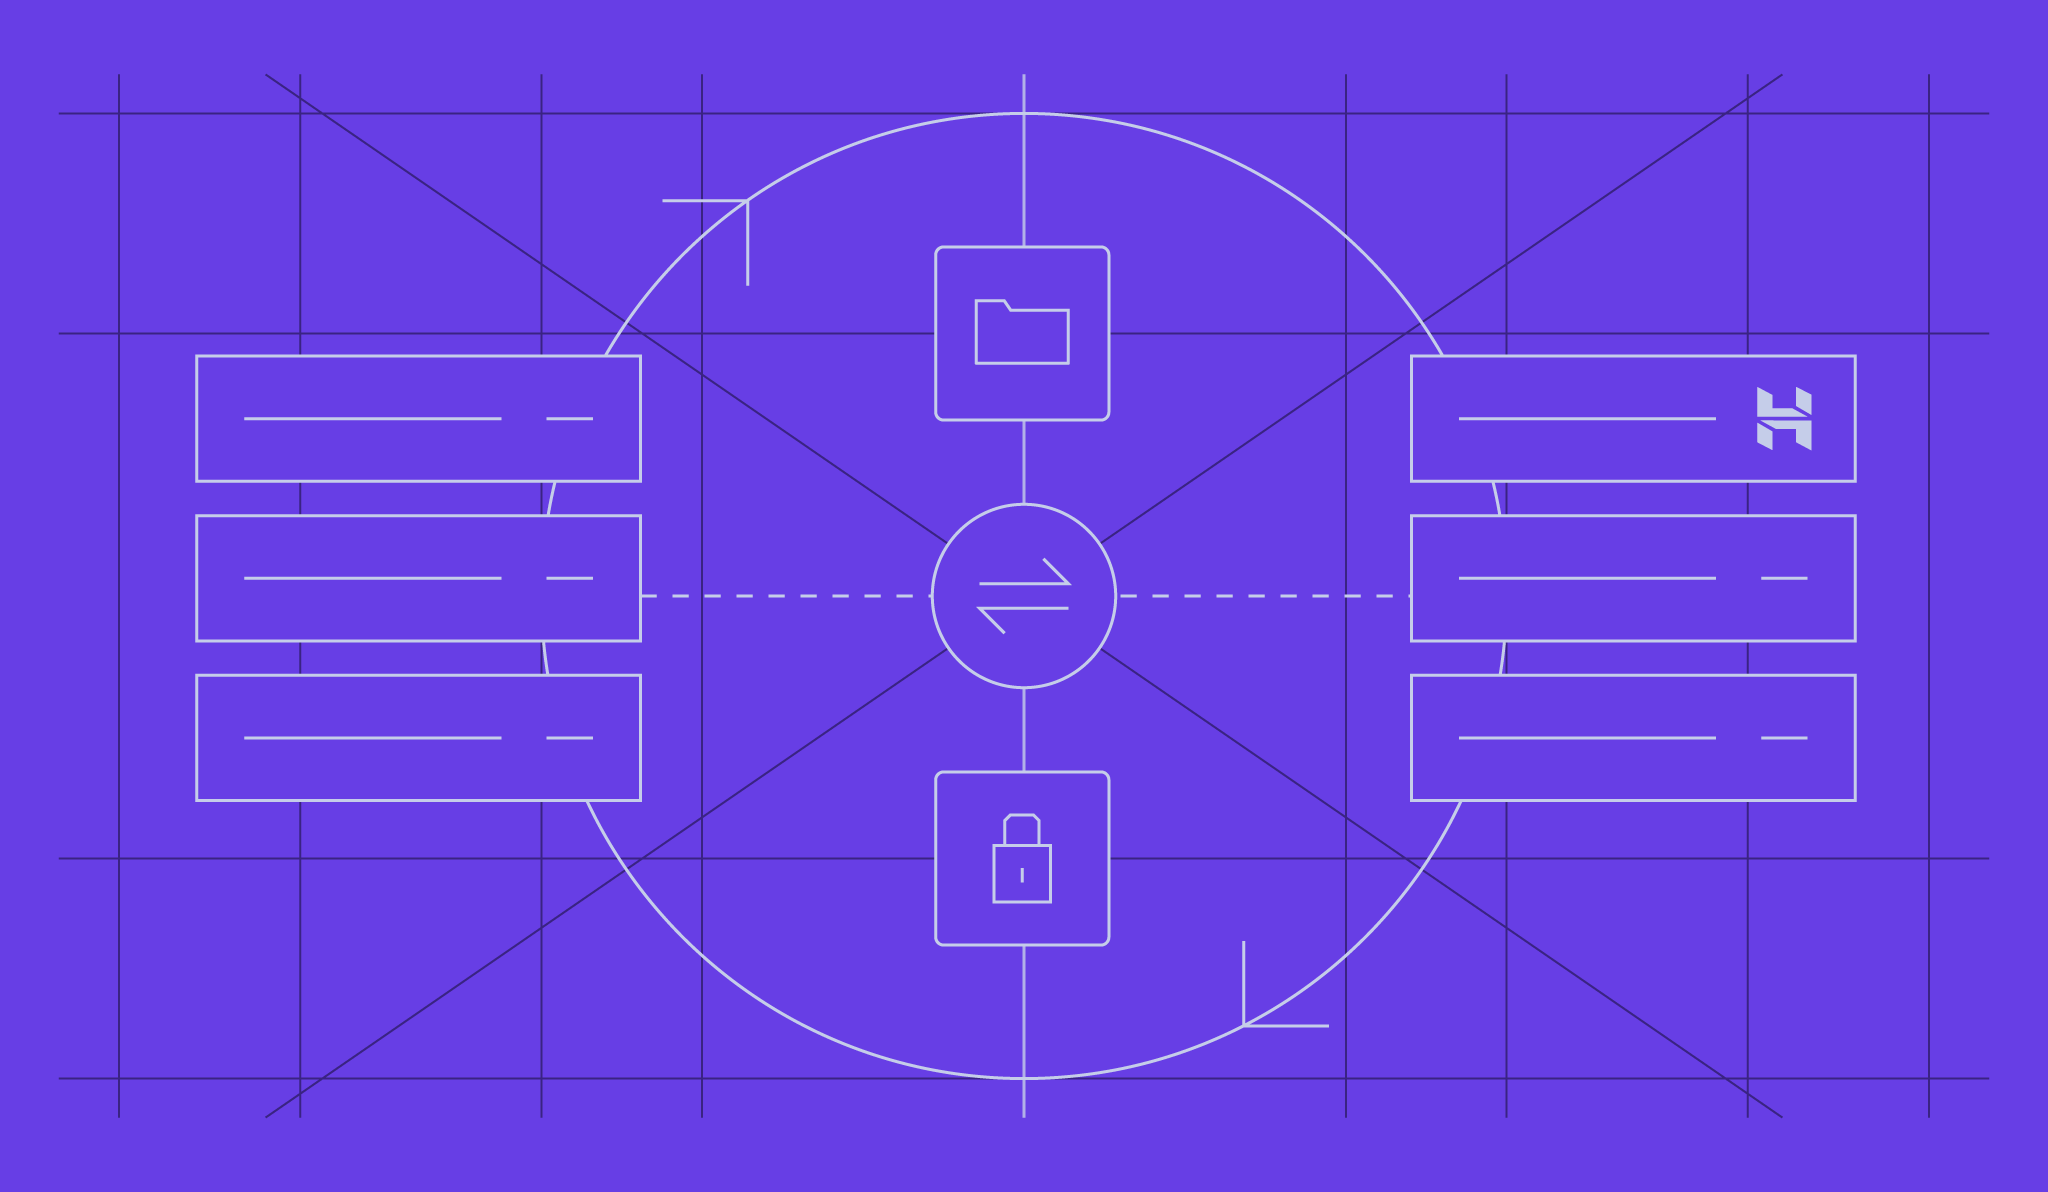
Introduction To Web Hosting Transfer
Changing web hosting can be necessary for many reasons. Often, people want better performance and speed for their websites. Sometimes, the current host may have poor customer support. Costs can also be a factor. Saving money is always a good thing. Another reason could be the need for more features and tools. Some hosts offer better security options. These reasons make a transfer worth considering.
Many think transferring web hosting is hard. But it is easier than it seems. Some believe their website will face downtime. This is not always true. With proper planning, downtime can be avoided. Another misconception is losing data during transfer. Data loss can be prevented with backups. Some fear the process will take too long. In reality, it can be quick if done right. Understanding these points can ease worries about transferring web hosting.
Preparing For The Transfer
Get ready for web hosting transfer by backing up your files. Ensure you have all necessary login details and information.
Backup Your Website
Always create a backup before moving your website. This ensures your data is safe. Use backup tools from your current host. Save the backup files on your computer. This includes all website files and databases.
Check Domain Registration
Your domain name should stay with you. Confirm your domain registration. Make sure it is not expired. Unlock your domain if it is locked. Get the EPP code for the domain transfer.
Choosing A New Hosting Provider
Transferring web hosting involves a few key steps. First, back up your website files and databases. Next, update your domain’s DNS settings to point to the new host. Finally, upload your files to the new server.
Comparing Hosting Plans
Check the features each plan offers. Look for storage, bandwidth, and uptime guarantees. Compare prices and customer support options. Some providers offer 24/7 support, others do not. Read the fine print for any hidden fees. Scalability is also key. Can you upgrade easily? Make sure the plan fits your website needs.
Reading Reviews
Read reviews from other users. They give insights into real experiences. Look for consistency in reviews. Too many bad reviews? Maybe avoid that provider. Trustworthy reviews mention both pros and cons. Check if the host has a good reputation. Reviews can help you avoid problems. User feedback is often honest and useful.

Credit: diggitymarketing.com
Setting Up The New Hosting Account
First, visit the hosting provider’s website. Click on the sign-up or register button. Fill in your details. Make sure your email is correct. You will need it for confirmation. Choose a strong password. Confirm your email. Your account is now ready.
Look at different plans offered. Think about your needs. Do you need more storage? Check for bandwidth limits. Compare prices. Look at reviews. Choose a plan that fits your budget. Ensure it meets your needs. Sign up for the chosen plan.
Migrating Your Website Files
FTP stands for File Transfer Protocol. It is a common way to move files. Use an FTP client like FileZilla. Open the client and connect to your old server. You need your server’s IP, username, and password. Once connected, you will see your files.
Next, select the files you want to move. Download them to your computer. This may take time if you have many files. Check to make sure all files are downloaded. Now, connect the FTP client to your new server. Again, you need the new server’s IP, username, and password. Upload the files from your computer to the new server. Your files will now be on the new server.
First, make sure the new server is ready. Check the settings and ensure it supports your website. Open your FTP client and connect to the new server. Use the same steps as before. Navigate to the folder where your website will be. Upload the files you downloaded earlier. Double-check to ensure all files are uploaded.
Sometimes, files can get lost. Compare the files on the new server to your local copy. Make sure everything matches. If something is missing, upload it again. Once all files are on the new server, your website should work fine. Always test your website to ensure everything is correct.

Credit: www.crazydomains.com
Transferring Your Database
Start by logging into your current hosting provider’s control panel. Find the database section. Look for an option to export the database. Usually, this is under tools or management. Choose the database you want to export. Select the export method. The most common format is SQL. Click on the export button. Save the file to your computer. Now, you have a backup of your database.
Log into your new hosting provider’s control panel. Find the database section again. Create a new database. Note down the database name, username, and password. Open the import tool. Choose the file you exported earlier. Select the new database you created. Click on the import button. Wait for the process to complete. Your database is now imported.
Updating Dns Settings
First, get the new nameservers from your new host. Then, log into your domain registrar account. Find the DNS settings or nameservers section. Enter the new nameservers provided by your host. Save the changes.
DNS changes can take up to 48 hours to propagate. During this time, your website might be unavailable to some users. Be patient. Check the status with online tools.
Testing The New Setup
Check every page on your website. Ensure all links work. Verify that images load correctly. Test forms to make sure they submit. Ensure that your website displays well on mobile devices. Confirm that interactive elements work as expected. Fix any broken parts quickly.
Keep an eye on your website’s uptime. Use monitoring tools to get alerts. Downtime can affect your site’s performance. Quick action is needed to fix issues. Ensure your web host provides good uptime. A stable website keeps visitors happy.
Final Steps And Tips
After moving your site to the new host, cancel the old hosting account. This saves you money. Check your site on the new host. Make sure everything works well. Contact the old host. Tell them you want to cancel. Be polite and clear. Some hosts need a written request. Others let you cancel online. Confirm the cancellation. Avoid charges for the next billing cycle.
Always keep your site safe. Change passwords often. Use strong passwords. Avoid simple words or phrases. Update all software. This includes plugins and themes. Keep backups of your site. Store backups in a safe place. Use security plugins. They help protect your site. Check for any security alerts. Act quickly if there’s a problem. Always stay alert.
Frequently Asked Questions
What Is Web Hosting Transfer?
Web hosting transfer involves moving your website from one hosting provider to another. It requires domain management, file transfer, and database migration.
Why Transfer Web Hosting?
Transferring web hosting can provide better performance, security, and customer support. It also helps in cost savings and enhanced features.
How To Prepare For Hosting Transfer?
Backup your website files and databases. Ensure you have new hosting account details ready. Update domain settings accordingly.
What Are Common Issues During Hosting Transfer?
Common issues include downtime, data loss, and broken links. Proper planning and testing can mitigate these issues effectively.
Conclusion
Transferring web hosting can seem daunting, but it’s manageable with the right steps. Follow our guide to ensure a smooth transition. Backup your data, choose a new host, and migrate your files. Update your DNS settings and test your website.
Remember to keep your old hosting active until the transfer completes. Patience and careful planning are key. With these tips, you’ll have your website running on its new host in no time. Enjoy your new web hosting experience!